Showing posts with label cocoa. Show all posts

02/08/2012

Jaffa Cakes

I heard about this recipe from a friend, she made a video tutorial on how to make them. Click here to see it.
These are amazing! I thought shop-bought Jaffa Cakes were good, but these are better.  The dark chocolate compliments the zesty orange filling so nicely. They take a while to make, but it's worth it.

Ingredients
  • 2 eggs
  • 50g/2oz caster sugar
  • 50g/2oz plain flour, sieved
  • 1x135g packet of orange jelly, chopped
  • 1tblsp orange marmalade
  • 125ml boiling water
  • 200g/7oz dark chocolate
Method
1) Make the jelly first. To do this, chop up the packet of jelly into cubes and put in a medium-sized bowl with the marmalade. Then, add the boiling water. Stir until the jelly dissolves.
2) Line a shallow baking tray with cling-film and pour the dissolved jelly into it. Put in the fridge to set overnight.
3) The next day, when the jelly has set, prepare a bain-marie (fill a pot half-way with water and place a small bowl on top) on the stove, on a low heat so that the water starts to simmer. Pre-heat the oven to 180°C.
Photograph source: afoodieabroad.blogspot.co.uk
3) The recipe says that when the water is simmering to add the eggs and sugar to the bowl on top and whisk until it light and creamy. However, when I did this the egg started to cook. So, I took the bowl off the stove and then whisked  it until combined. Then, I heated the mixture -back in the pot- until it became creamy.
4) Take this off the stove and sift in the flour. Do not mix in the flour, but fold it in.
5) Grease a cupcake tray and fill each section half-way with the batter. Put in the oven and cook for 8-10 minutes.
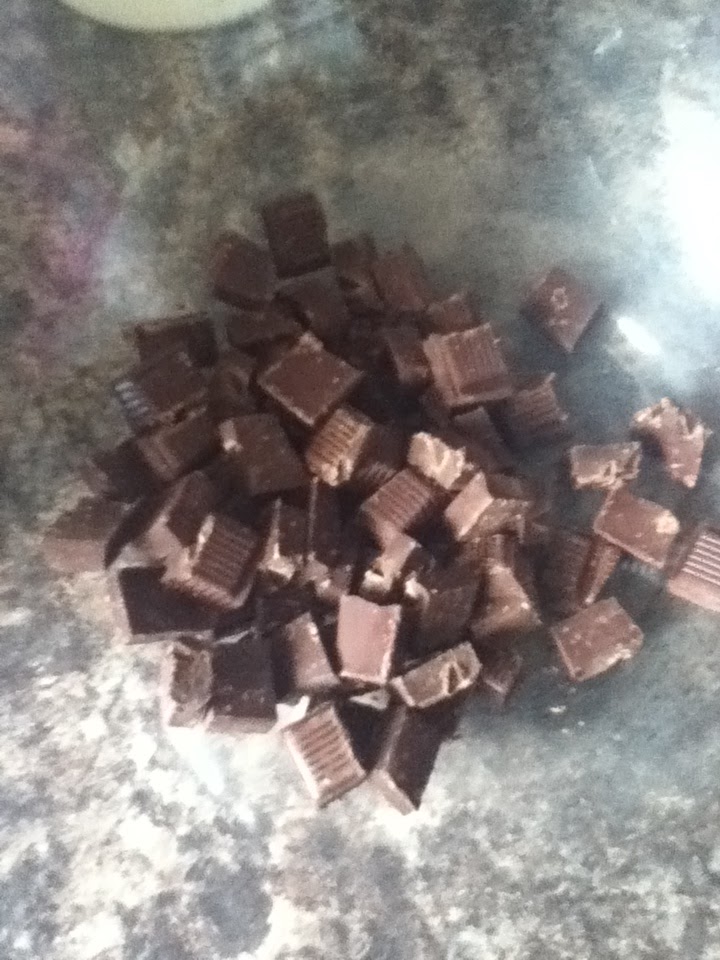
6) While that's in the oven, break the chocolate into blocks and use the bain-marie (wash it first!) at a low temperature to slowly melt it. Also, take the jelly out of the fridge and the cling-film.
7) When the cakes are out of the oven and cooled, cut circles out of the jelly with a cookie cutter (make sure the circle fits each cake!). Place a circle onto each cake.
8) When that's done, cover each cake with the melted chocolate and put in the fridge to set.

These are very rich and very orangey, so if you find normal Jaffa Cakes too much I wouldn't recommend these. However if you love a good tasty, zingy treat please try these! 4/5

Happy Baking

05/07/2012

Chocolate Pots

Chocolate Pots

Ingredients

  • 225 g dark chocolate, finely chopped
  • 400 ml double cream, plus extra for serving
  • 150 ml milk
  • 50 g icing sugar
  • 2 egg yolks
  • cocoa powder, to dust 

Method

1. Put the chopped chocolate into a large bowl.  


2. Put the cream into a saucepan, bring it gently to the boil, then pour it over the chocolate. Stir together until the chocolate melts and put this mixture to one side.


3. In another bowl, mix together the milk, icing sugar and yolks. 

 4. Pour the egg and milk mixture into the chocolate, stir till combined, then strain through a sieve into a clean bowl.


 5. Pour the mixture into small pots.
 6. Put the pots in the fridge and leave overnight.
 7. To serve, remove the pots from the fridge and dust with cocoa.

 credits to: http://uktv.co.uk/food/recipe/aid/599888
 

18/06/2012

Gone like a chocolate scone


Classic Scones are out, and chocolate scones are in! These triple chocolate scones are encased in a thin, crispy shell that when broken reveals a delicate, almost chewy, center.  Every chocolate chip becomes a rich, chocolatey surprise in this chewy/chocolatey/crispy treat.

Ingredients
  1. 1 3/4 cup flour
  2. 1/3 cup sugar
  3. 1 Tbsp. baking powder
  4. 1/3 cup unsweetened cocoa powder
  5. 1/2 tsp. salt
  6. 1 tsp. vanilla
  7. 6 Tbsp. butter
  8. 7-8 Tbsp. milk
  9. 1/2 cup chocolate chips
  10. 3 Tbsp. chopped or grated dark chocolate (optional, I did not use these)


 Method
1. Preheat oven to 200°C.  Line one flat baking tray with grease-proof paper.

2. Sift first five ingredients and chocolate chips and/or grated chocolate into a bowl. Then, add vanilla and chopped up butter.

3. After you have done that, blend all of the ingredients together while gradually adding the milk; until the dough is moist enough to form a small ball, but not sticky. 

4. In this stage, be careful not to handle the dough too much.  Place the dough onto a lightly floured cutting board and carefully press down to about 1/2 an inch thick.

5. Cut into desired shapes, I just used a small rounded cookie cutter. Then, place onto your baking tray.  Leave a couple of centimeters space between each scone to prevent them from rising into each other.

6. Once you have used up all of your dough, put the scones in the oven to bake for about 8-15 minutes (depending on the size of each one).

I love these! They have the perfect amount of cocoa, and are a perfect texture for scones. 5/5

(Credit to: http://teapartyideas.wordpress.com)